Concrete may look tough the minute it turns from soup to sidewalk, but do not let that gray poker face fool you. Fresh concrete is a bit like bread dough, a houseplant, and a chemistry experiment all wearing the same work boots. It needs moisture, time, and reasonable temperature to become strong, durable, and less likely to crack under pressure. That process is called curing concrete.
In simple terms, curing is the practice of keeping newly placed concrete moist enough and warm enough so cement hydration can continue. Hydration is the chemical reaction between cement and water that gives concrete its strength. If the surface dries too quickly, the reaction slows down, the top layer becomes weaker, and the slab may develop dusting, cracking, scaling, or a sad personality. Nobody wants a dramatic driveway.
The good news is that curing concrete is not mysterious. Whether you are finishing a patio, walkway, driveway, garage slab, small repair, or decorative concrete project, the same basic goal applies: keep moisture in the concrete long enough for strength and durability to develop. Below are three proven ways to cure concrete, along with practical tips, common mistakes, and real-world experience from jobs where the difference between “good enough” and “built to last” often comes down to curing.
What Does It Mean to Cure Concrete?
To cure concrete means to control moisture loss and temperature after placement. Concrete does not simply “dry” into hardness. In fact, drying too fast is one of the biggest problems. Cement needs water to continue hydrating. When concrete loses moisture early, especially from the exposed surface, it may never reach its full potential strength.
Think of curing as giving concrete a protected childhood. For the first several days, the slab is developing its internal structure. The surface is especially vulnerable because it is exposed to sun, wind, low humidity, and impatient humans who want to walk on it immediately. Proper curing helps concrete become stronger, more watertight, more abrasion-resistant, and better able to handle weather, traffic, and freeze-thaw cycles.
Why Curing Matters
Proper concrete curing can improve:
- Compressive strength: Concrete gains strength as hydration continues.
- Surface durability: A well-cured slab is less likely to dust, scale, or wear away.
- Crack resistance: Controlled moisture loss reduces early shrinkage stress.
- Water resistance: Better hydration creates a denser paste structure.
- Long-term performance: Driveways, patios, floors, and sidewalks last longer when cured correctly.
Most concrete curing recommendations call for maintaining favorable curing conditions for at least several days. Seven days is a common minimum for many ordinary concrete projects, although the exact duration depends on the mix, cement type, weather, slab thickness, project specifications, and intended use. Concrete continues gaining strength beyond that period, but those early days are the VIP section of the curing party.
Way 1: Wet Curing Concrete With Water
Wet curing is one of the most effective ways to cure concrete because it directly supplies moisture to the slab. The idea is beautifully simple: keep the concrete continuously damp so hydration can continue without interruption. The execution, however, requires consistency. Sprinkling it once and wandering away like a forgetful garden gnome is not wet curing.
How Wet Curing Works
Wet curing can be done by ponding, fogging, misting, spraying, or covering the concrete with wet materials such as burlap, cotton mats, or curing blankets. For flatwork such as slabs and pavements, contractors may create small earth or sand berms around the edges and pond water over the surface. For smaller residential projects, wet burlap or absorbent mats are often more practical.
The key is continuity. Concrete should not be soaked, allowed to dry, soaked again, and then left to bake in the afternoon sun. Repeated wet-dry cycles can stress the surface and reduce curing quality. If you choose wet curing, commit to keeping the surface damp throughout the curing period.
Best Uses for Wet Curing
Wet curing works especially well for:
- Concrete slabs where maximum surface durability is important
- Sidewalks, patios, and small driveways
- Concrete repairs that need strong bond and dense surface paste
- Hot or windy conditions where evaporation is aggressive
- Projects where appearance is less sensitive to coverings or water marks
For high-quality results, wait until the concrete is hard enough that water will not damage the finished surface. Starting too early can wash away cement paste or mark the slab. Starting too late allows avoidable moisture loss. Timing matters, which is concrete’s polite way of saying, “Please do not freestyle this.”
Wet Curing Step by Step
- Finish the concrete properly and allow surface bleed water to disappear.
- Wait until the surface can accept curing without being marred.
- Apply clean water using fogging, gentle misting, wet burlap, mats, or ponding.
- Keep coverings continuously wet and in full contact with the surface.
- Maintain curing for the recommended period, commonly at least several days.
- Protect the slab from traffic, freezing, harsh sun, and strong wind during curing.
Pros and Cons of Wet Curing
The biggest advantage of wet curing is performance. Keeping concrete moist supports strong hydration and a dense surface. It is a classic method because it works. The downside is labor. Someone has to monitor the slab, keep materials wet, prevent runoff, and make sure the surface does not dry out. On a large jobsite, that may require planning. On a home project, it may require you to resist the temptation to “check it later” and then accidentally check it tomorrow.
Way 2: Cure Concrete With Plastic Sheeting or Moisture-Retaining Covers
The second method is to seal moisture inside the concrete using plastic sheeting, waterproof paper, or other moisture-retaining covers. Instead of adding water continuously, this method traps the mix water already inside the slab and reduces evaporation.
How Plastic Sheeting Cures Concrete
Plastic sheeting acts like a temporary raincoat for concrete, except the raincoat keeps moisture in instead of out. When properly placed, it prevents rapid evaporation from the surface. This gives cement more time to hydrate and helps the slab develop better strength and durability.
For best results, the sheet should cover the entire exposed surface, overlap at seams, extend over edges, and be weighted down so wind cannot sneak underneath. If air gaps form or edges lift, moisture escapes. Concrete is not impressed by lazy blanket placement.
Best Uses for Plastic Sheet Curing
Moisture-retaining covers are useful for:
- Small to medium concrete slabs
- Driveways, sidewalks, and patios
- Projects where water supply is limited
- Cooler weather when evaporation is moderate
- Jobs where frequent re-wetting is inconvenient
White or reflective sheets may be useful in sunny conditions because they can reduce heat buildup. Clear or dark plastic can raise surface temperature under direct sun, which may not be ideal in hot weather. In decorative concrete, plastic can sometimes leave discoloration, mottling, or uneven curing patterns, especially if it touches the surface irregularly. If appearance is critical, test the method or choose another curing approach.
Plastic Sheet Curing Step by Step
- Finish the concrete and wait until the surface is firm enough not to be damaged.
- Lightly dampen the surface if appropriate and allowed by the project conditions.
- Place plastic sheeting or curing paper over the entire slab.
- Overlap seams by several inches and seal or weight them down.
- Cover exposed edges, corners, and joints.
- Keep the cover in place for the required curing period.
Pros and Cons of Plastic Sheeting
Plastic sheeting is affordable, simple, and effective when installed correctly. It requires less active watering than wet curing and is easy to use on many residential projects. The disadvantages include possible surface discoloration, trapped bleed water if applied too early, wind problems, and uneven contact marks. In other words, plastic curing is excellent, but it is not a bedsheet thrown over a couch before vacation. It needs care.
Way 3: Cure Concrete With a Liquid Curing Compound
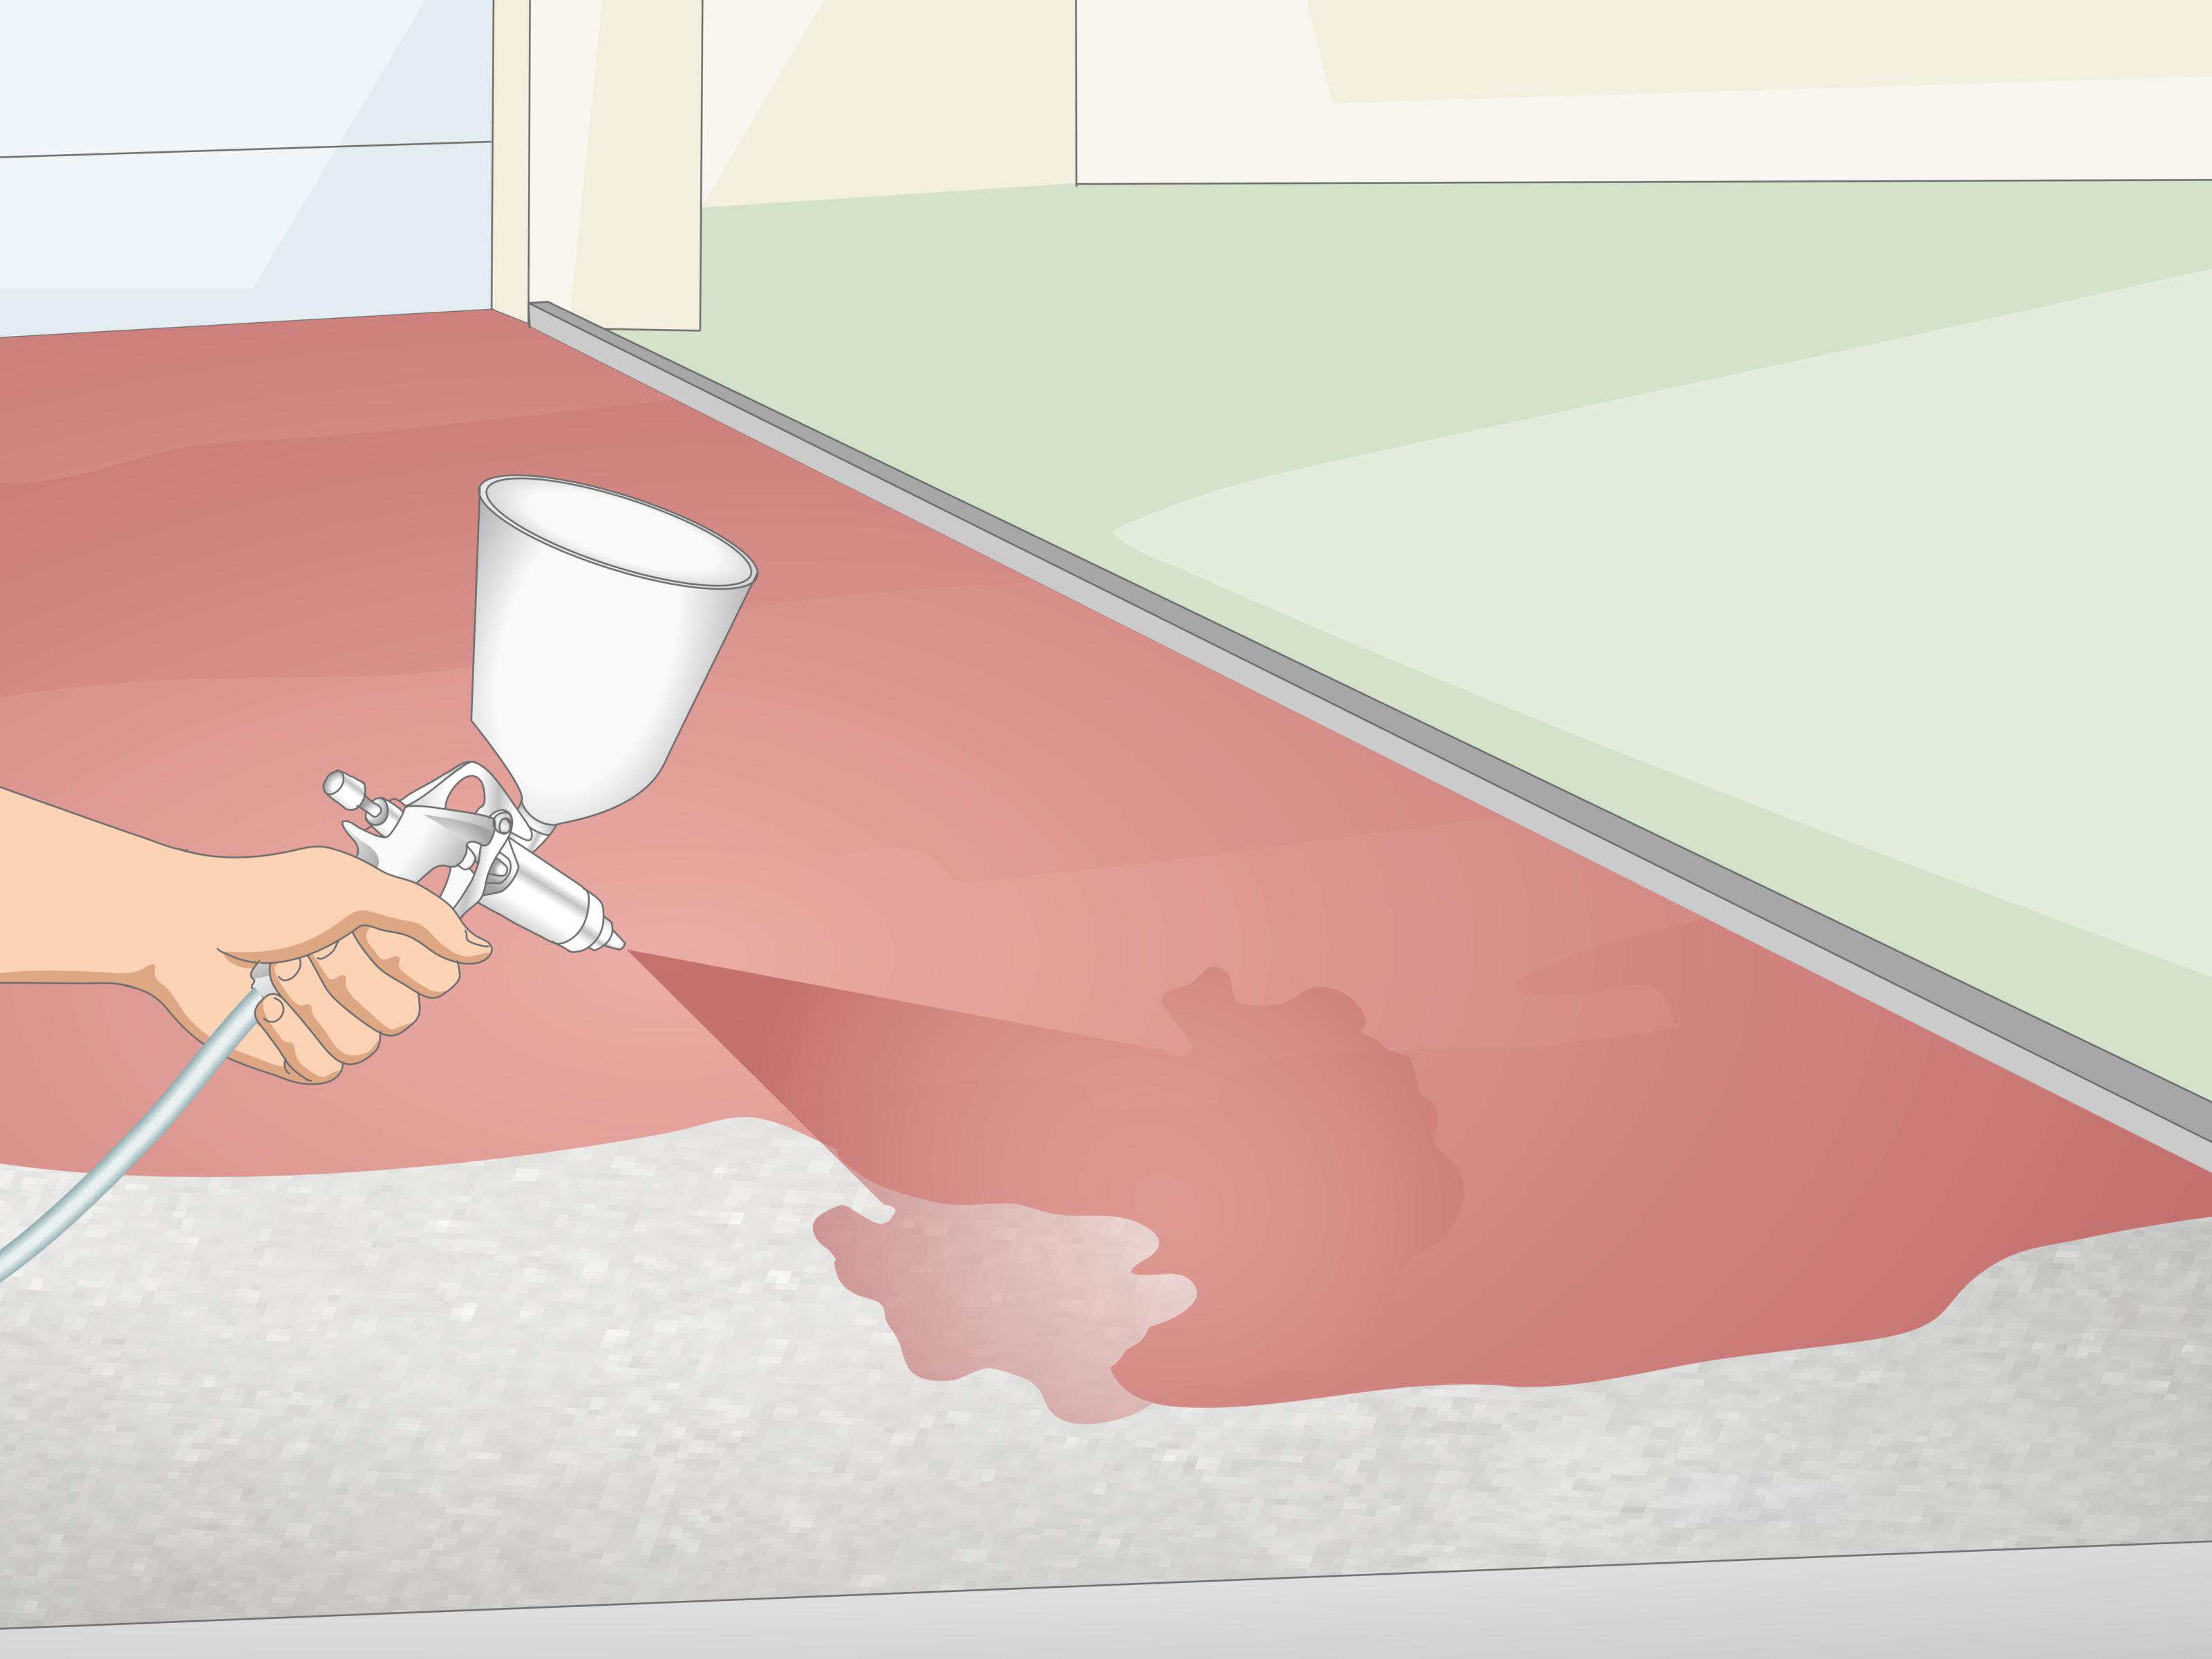
The third common method is using a liquid membrane-forming curing compound. This product is sprayed or rolled onto fresh concrete after finishing. As it dries, it forms a thin film that reduces moisture evaporation. Curing compounds are widely used because they are practical, fast, and especially helpful on large slabs, pavements, and commercial jobs.
How Curing Compounds Work
Curing compounds create a temporary membrane on the concrete surface. This membrane helps hold moisture inside the slab so hydration can continue. Products may be resin-based, wax-based, acrylic-based, or made with other film-forming materials. Some are white-pigmented to reflect sunlight, which is useful for pavements and hot-weather concrete work.
Application timing is important. If applied too early, while bleed water is still present, the compound may not form a proper film. If applied too late, the surface may already have lost valuable moisture. The sweet spot is after final finishing, when the surface sheen has disappeared and the concrete can receive the compound without damage.
Best Uses for Curing Compounds
Liquid curing compounds are ideal for:
- Large concrete slabs and pavements
- Commercial floors where constant wet curing is impractical
- Driveways and sidewalks when labor is limited
- Hot or windy jobsites where moisture loss is rapid
- Projects needing a fast, uniform curing method
However, always check compatibility. Some curing compounds can interfere with later coatings, sealers, tile adhesives, stains, overlays, or floor treatments. If the concrete will receive a decorative finish or bonded flooring, choose a compatible curing method or use a product designed to dissipate or be removed later.
Curing Compound Step by Step
- Finish the concrete and wait until bleed water has evaporated.
- Shake or mix the curing compound according to the product instructions.
- Apply evenly using a sprayer, roller, or approved applicator.
- Cover the surface completely at the manufacturer’s recommended rate.
- Apply a second pass if required, often at a right angle to the first pass.
- Protect the surface from rain, traffic, dust, and damage while the membrane forms.
Pros and Cons of Curing Compounds
The biggest advantage of curing compounds is convenience. They reduce labor and are useful when continuous watering is unrealistic. They also provide more uniform curing than a rushed hose-down routine. The disadvantages include product cost, timing sensitivity, possible compatibility issues, and the need for correct coverage. A curing compound applied too thinly is like sunscreen applied by someone who thinks shoulders are optional.
Which Concrete Curing Method Is Best?
The best method depends on the project, weather, budget, appearance requirements, and future use of the concrete. For maximum curing quality, wet curing is hard to beat. For convenience and moisture retention, plastic sheeting works well when installed properly. For speed and practicality, curing compounds are often the professional choice.
Quick Comparison
| Method | Best For | Main Advantage | Main Caution |
|---|---|---|---|
| Wet curing | Durable slabs, repairs, hot weather | Excellent moisture support | Requires constant attention |
| Plastic sheeting | Patios, sidewalks, driveways | Affordable and simple | Can discolor or mark surfaces |
| Curing compound | Large slabs, pavements, busy jobsites | Fast and practical | May affect later coatings |
Many professionals combine methods. For example, they may fog the surface before final curing, then apply a curing compound. Or they may use wet burlap covered with plastic to hold moisture longer. The goal is not to win a trophy for method purity. The goal is to keep the concrete from losing moisture too fast.
Common Concrete Curing Mistakes to Avoid
Letting Concrete Dry Too Soon
This is the classic mistake. Fresh concrete needs moisture. If the surface dries in the first day, especially under sun or wind, cracking and weak surface paste can follow. The slab may still look acceptable at first, but later it can dust, scale, or wear faster.
Starting Final Curing Too Early
Applying water, plastic, or curing compound before the concrete is ready can damage the finish. Bleed water should disappear before many curing steps begin. The surface should be firm enough to avoid marring.
Forgetting the Edges
Edges lose moisture quickly. If curing covers stop short or curing compound misses the sides, those areas may dry faster and become weaker. Concrete edges are like the crust of a pie: easy to overlook, very obvious when ruined.
Ignoring Weather
Hot weather, low humidity, and wind increase evaporation. Cold weather slows hydration and can damage fresh concrete if freezing occurs. Proper curing includes moisture control and temperature awareness.
Walking or Driving Too Soon
Concrete gains strength over time. Foot traffic, tools, ladders, vehicles, and heavy loads can damage young concrete. Follow project-specific guidance before using the slab. Your new driveway may look ready for a truck, but it may still be in its “please be gentle” era.
How Long Should Concrete Cure?
For many ordinary concrete projects, curing for at least seven days is a common recommendation. Some mixes, such as high-early-strength concrete, may require shorter curing periods under certain conditions. Other mixes, especially those with supplementary cementitious materials, may benefit from longer curing. Structural concrete, pavements, and engineered slabs should follow project specifications.
It is also important to separate “curing time” from “ready for use.” Concrete may be hard enough to walk on before it has cured sufficiently. It may accept light use before it reaches design strength. Full strength development commonly takes much longer than the first few days, so early protection matters.
Hot Weather and Cold Weather Curing Tips
Hot Weather Tips
In hot weather, start planning before the truck arrives. Use sunshades when practical, prepare curing materials in advance, and protect the surface from rapid evaporation. Fogging can help maintain surface moisture before final curing. White curing compounds or reflective covers may help reduce heat absorption.
Cold Weather Tips
Cold weather curing focuses on keeping concrete warm enough for hydration and preventing freezing. Insulating blankets, heated enclosures, and careful scheduling may be necessary. Never assume concrete is safe just because the air temperature is comfortable at noon. Overnight lows can be the sneaky villain in the story.
Practical Experiences With Curing Concrete
After watching enough concrete projects, one lesson becomes obvious: curing is where good concrete either gets protected or quietly betrayed. The placing and finishing may get all the attention because that is when the crew is moving, tools are out, and everyone is staring at the surface like it is a cake in a baking show. But the real long-term performance often depends on what happens after the finishing tools are washed.
One common experience on residential patios is the “it looked fine yesterday” problem. A slab is placed on a warm afternoon, finished nicely, and left uncovered because the surface seems hard by evening. The next morning, tiny cracks appear. They may not be structural disasters, but they are frustrating. Usually the cause is rapid moisture loss from sun, wind, or dry air. A simple curing plan, such as damp burlap or properly applied curing compound, could have reduced that risk.
Driveways teach another lesson: edges matter. Many homeowners focus on the broad center area because that is where cars will park. Yet the edges and corners often dry fastest, especially when forms are removed early or wind moves across the surface. On a driveway, poorly cured edges may chip or wear faster. A good habit is to make sure curing compound reaches the edges or that covers wrap over them. It is a small detail, but concrete is basically a giant collection of small details that become expensive when ignored.
Plastic sheeting is useful, but it has its own personality. On broom-finished concrete, it can work well if the sheet is placed after the surface is firm and held down evenly. On decorative concrete, stamped concrete, or colored concrete, it can create uneven shading if it touches the surface in wrinkles or traps moisture inconsistently. Contractors often choose curing compounds or specialty curing products for decorative work because appearance matters. The lesson is simple: the best curing method is not only the one that works chemically, but the one that fits the final finish.
Wet curing can produce excellent results, but only when it is truly wet curing. A quick spray from a hose twice a day may not be enough in hot, dry, or windy weather. If the slab dries between waterings, curing becomes uneven. Wet burlap covered by plastic is often more reliable because the burlap holds moisture and the plastic slows evaporation. This combination is especially helpful for small slabs, repairs, and areas where strong surface durability is desired.
Curing compounds are the practical favorite on many jobs because they save labor. A crew can finish the slab, apply the compound at the correct time, and protect the concrete without returning every hour with water. The important experience here is coverage. Thin, patchy application leads to thin, patchy curing. A sprayer should be clean, the compound should be mixed as directed, and the surface should receive the recommended amount. If the product looks like it was applied by a tired mosquito, do it better.
Another real-world tip is to prepare curing materials before the pour begins. Do not wait until the slab is finished to hunt for plastic, burlap, sprayers, hoses, or weights. By then, the concrete clock is already ticking. Good curing starts with planning. Check the weather forecast, know the curing method, stage the materials, and assign someone to monitor the slab. Concrete rewards boring preparation. It is not glamorous, but neither is repairing preventable cracks.
Finally, remember that curing is not a magic spell that fixes poor concrete. Bad mix design, too much added water, overworking the surface, improper finishing, weak subgrade, and missing joints can still cause problems. Curing is one part of a complete concrete system. But when the mix, placement, finishing, joints, and curing all work together, the result is a slab that has a much better chance of staying strong, attractive, and useful for years.
Conclusion
Curing concrete is one of the most important steps in building durable slabs, sidewalks, driveways, patios, and repairs. The three main ways to cure concrete are wet curing, moisture-retaining covers, and liquid curing compounds. Each method works by protecting the moisture needed for cement hydration. Wet curing offers excellent performance, plastic sheeting is affordable and practical, and curing compounds are fast and efficient for larger projects.
The best curing method is the one that matches the project conditions and is actually done correctly. Keep moisture in, protect the surface from harsh weather, avoid early traffic, and follow product or project specifications. Concrete may seem tough, but during its first few days, it appreciates a little babysitting. Treat it well early, and it will return the favor by staying stronger longer.