Broccoli sprouts are tiny, crunchy, peppery little greens with the confidence of a vegetable ten times their size. They do not need a garden, a grow light, a compost pile, or the patience required to raise full-grown broccoli. In fact, if you can rinse a jar twice a day without forgetting it behind the toaster, you can learn how to grow broccoli sprouts at home.
These sprouts are the young shoots of broccoli seeds, usually harvested when they are about three to five days old. They are popular because they are fresh, inexpensive, easy to grow indoors, and naturally rich in plant compounds associated with cruciferous vegetables, especially glucoraphanin, which can convert into sulforaphane when the sprouts are chewed or chopped. That sounds fancy, but the process itself is delightfully simple: soak, drain, rinse, repeat, harvest, eat.
This guide explains exactly how to grow broccoli sprouts in a jar, how to keep them clean, when to harvest them, how to store them, and what to do when your sprout project starts smelling like a forgotten gym sock. Spoiler: that smell means something went wrong.
What Are Broccoli Sprouts?
Broccoli sprouts are germinated broccoli seeds. Unlike broccoli microgreens, which are usually grown in soil or a growing mat and harvested with scissors after the first leaves develop, sprouts are grown with water alone. You eat the seed, root, stem, and tiny leaves together.
The flavor is mild at first, then slightly spicy and radish-like. They add crunch to sandwiches, grain bowls, tacos, omelets, salads, and wraps. If mature broccoli is the sensible adult wearing a cardigan, broccoli sprouts are the energetic toddler running through the kitchen with a cape.
Why Grow Broccoli Sprouts at Home?
Learning how to grow broccoli sprouts at home gives you fresh greens in less than a week. A small amount of seed can produce a generous jar of sprouts, and you do not need outdoor space. This makes broccoli sprouts ideal for apartments, dorm rooms, small kitchens, winter gardening, or anyone who has ever looked at grocery-store herbs and thought, “Why are you already wilted?”
Homegrown broccoli sprouts also give you control over freshness. Because sprouts are delicate and high in moisture, they are best eaten soon after harvest. Growing them yourself means you can start a new batch every few days and enjoy them at peak crunch.
Important Food Safety Note Before You Start
Broccoli sprouts are usually eaten raw, and raw sprouts carry a higher food safety risk than many other vegetables. The warm, moist conditions that help seeds germinate can also support harmful bacteria if contamination is present. For that reason, children, older adults, pregnant people, and anyone with a weakened immune system should avoid raw sprouts or eat them only after thorough cooking.
For everyone else, safe handling matters. Use seeds labeled specifically for sprouting, wash your hands, clean your equipment thoroughly, rinse with clean drinking water, drain well, refrigerate promptly after harvest, and discard any sprouts that smell sour, feel slimy, or show visible mold. Sprouting is easy, but it is still food production. Tiny kitchen farm, tiny kitchen responsibility.
Supplies You Need to Grow Broccoli Sprouts
You do not need much equipment. The classic jar method is simple, affordable, and beginner-friendly.
Basic Supplies
- 1 wide-mouth quart Mason jar
- 1 sprouting lid, fine mesh lid, or clean cheesecloth with a rubber band
- 1 to 2 tablespoons broccoli seeds labeled for sprouting
- Cool, clean drinking water
- A bowl or dish rack to hold the jar at an angle
- A clean towel or shaded spot for the first few days
Choose untreated sprouting seeds from a reputable supplier. Do not use regular garden seeds unless the package clearly says they are safe for sprouting. Garden seeds may be treated with fungicides or other coatings that are not intended to be eaten as raw sprouts.
How to Grow Broccoli Sprouts in a Jar
The jar method works because it gives seeds moisture, oxygen, and drainage. Broccoli seeds need to stay damp, but they should never sit in standing water after the soaking stage. Good drainage is the difference between crisp sprouts and a science experiment that makes you question your life choices.
Step 1: Clean the Jar and Lid
Wash the jar, lid, and any tools with hot, soapy water. Rinse well and let them air dry. Start with a clean work area and clean hands. Since sprouts are eaten raw, cleanliness is not optional decoration; it is part of the recipe.
Step 2: Measure the Seeds
Add 1 to 2 tablespoons of broccoli sprouting seeds to a quart jar. This looks like almost nothing, but do not panic. Seeds expand dramatically as they sprout. Using too many seeds can overcrowd the jar, reduce airflow, trap moisture, and increase the chance of spoilage.
Step 3: Rinse the Seeds
Add cool water, swirl the seeds gently, and drain. This first rinse removes dust and loose seed particles. If any broken seeds or debris float to the top, pour them off.
Step 4: Soak for 8 to 12 Hours
Cover the seeds with several inches of cool water and let them soak for 8 to 12 hours. Most people do this overnight. Soaking wakes the seeds up and begins germination. It is basically the broccoli seed version of coffee, except quieter and less expensive.
Step 5: Drain Thoroughly
After soaking, pour off the water through the sprouting lid or mesh. Rinse the seeds again with cool water, swirl, and drain completely. Shake the jar gently to remove extra water. Then place the jar upside down at an angle in a bowl or dish rack so remaining water can drip out and air can circulate.
Step 6: Rinse and Drain Two to Three Times Daily
For the next three to five days, rinse and drain the sprouts two to three times a day. Morning and evening works well for most households. In warm kitchens, a midday rinse can help keep the sprouts fresh.
Each rinse should be simple: fill the jar with cool water, swirl gently, drain very well, and return the jar to its angled position. Do not leave the sprouts soaking between rinses. They need moisture, but they also need oxygen.
Step 7: Keep Them in Low Light at First
During the first two or three days, keep the jar in a shaded area away from direct sunlight. A cabinet, pantry shelf, or counter corner covered with a clean towel can work. Broccoli sprouts do not need light to germinate, and too much heat from sunlight can stress them.
Step 8: Green Them Up Near the End
Once the sprouts have grown small yellow leaves, move the jar to bright indirect light for several hours. This helps the leaves turn green. Avoid hot direct sun, which can overheat the jar and make the sprouts sad, sweaty, and possibly unsafe.
Step 9: Harvest on Day 4 or 5
Most broccoli sprouts are ready in about four to five days. They should have thin white stems, tiny green leaves, and a clean, fresh smell. Some batches may be ready on day three; others may need a little longer depending on temperature and seed freshness.
To harvest, give the sprouts one final rinse. Drain extremely well. A salad spinner helps remove extra water, but you can also spread the sprouts on a clean towel for a short time. The drier they are before refrigeration, the longer they stay crisp.
How to Store Broccoli Sprouts
Store harvested broccoli sprouts in a clean container lined with a dry paper towel or clean cloth. Keep them in the refrigerator and use them within two to three days for best quality. Some carefully dried sprouts may last a little longer, but fresher is better.
Do not seal wet sprouts in an airtight container. Extra moisture encourages spoilage. If condensation builds up, replace the towel and leave the lid slightly loose. Your goal is cool, clean, and lightly drynot swamp-in-a-box.
How to Tell If Broccoli Sprouts Have Gone Bad
Healthy broccoli sprouts smell fresh, green, and slightly peppery. They should not smell sour, rotten, musty, or sulfurous. A faint broccoli aroma is normal. A smell that makes you step backward and negotiate with the jar is not normal.
Throw Away Sprouts If You Notice:
- Slime or sticky texture
- Fuzzy mold growth
- Sour, rotten, or unpleasant odor
- Gray, brown, or black patches
- Seeds that never sprout and begin to smell bad
One confusing detail: broccoli sprouts naturally grow fine root hairs. These can look like delicate white fuzz, especially before rinsing. Root hairs disappear or flatten when rinsed. Mold usually looks patchy, webby, or colored and often comes with a bad smell. When in doubt, throw it out. Seeds are cheaper than stomach regret.
Best Temperature for Growing Broccoli Sprouts
Broccoli sprouts grow best at normal room temperature, roughly 65°F to 75°F. A cooler room slows growth, while a very warm room can increase spoilage risk. If your kitchen is hot, rinse more often, drain extra carefully, and keep the jar away from appliances that give off heat.
Good airflow also matters. Do not close sprouts inside a sealed jar after soaking. Use a breathable lid or mesh cover. Sprouts need air, and so do your chances of success.
Common Mistakes When Growing Broccoli Sprouts
Using Too Many Seeds
More seeds do not always mean more success. Overcrowding traps moisture and reduces airflow. Start with 1 tablespoon if you are new, then increase slightly once you understand how much your jar can handle.
Not Draining Well Enough
Poor drainage is the number one villain in the broccoli sprout story. After every rinse, drain until water stops dripping. Then keep the jar tilted downward so moisture can escape.
Forgetting a Rinse
Missing one rinse is not always fatal, but repeated neglect can cause dryness, uneven growth, or funky smells. Attach the habit to something you already do, like brushing your teeth or making coffee.
Using the Wrong Seeds
Seeds for field planting are not the same as seeds for sprouting. Buy seeds labeled for sprouting or food use. This is one of the easiest ways to improve safety and results.
Harvesting Too Late
Broccoli sprouts are best when young. If you wait too long, they can become crowded, bitter, and harder to rinse properly. Harvest when the jar is full, the leaves are green, and the sprouts still smell fresh.
How to Eat Broccoli Sprouts
Broccoli sprouts are small but mighty in the kitchen. They are easiest to enjoy raw, but anyone in a higher-risk group should choose cooked sprouts instead. For everyday meals, add them after cooking so they stay crisp.
Easy Ways to Use Broccoli Sprouts
- Add a handful to avocado toast
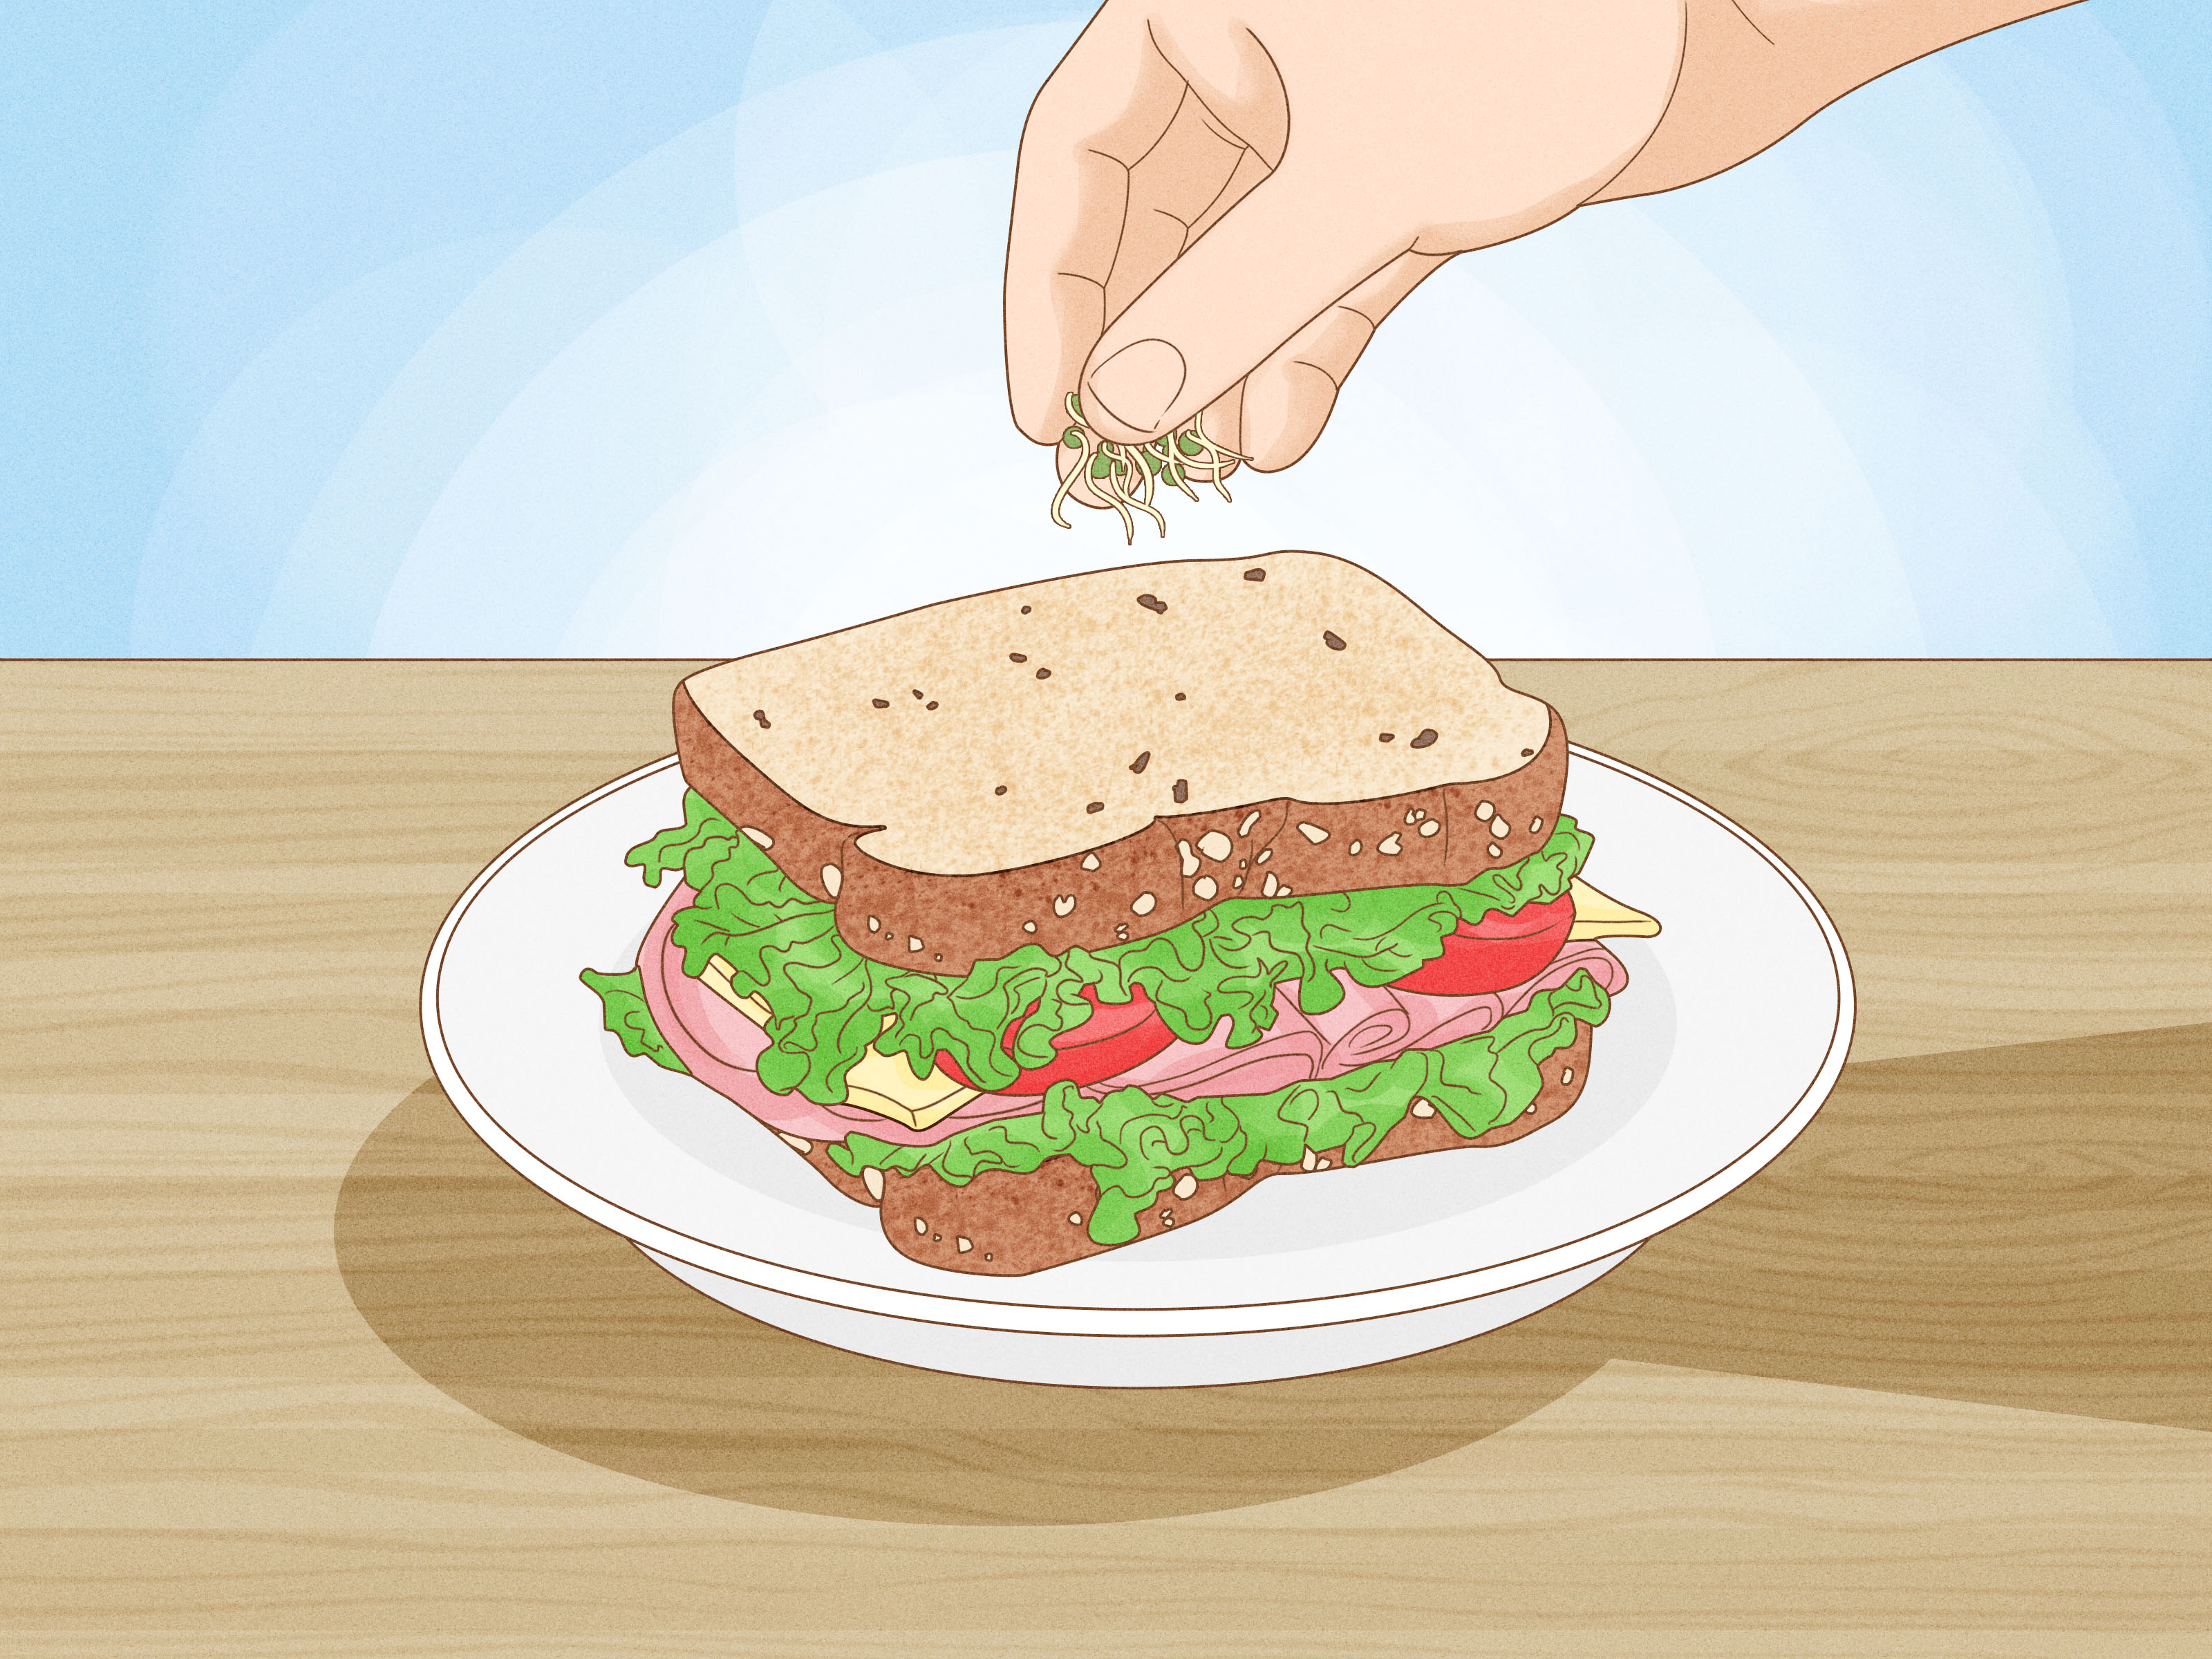
- Tuck them into turkey, tuna, or veggie sandwiches
- Use them as a topping for tacos or rice bowls
- Mix them into salads for extra crunch
- Add them to smoothies in small amounts
- Sprinkle them over eggs just before serving
- Fold them into wraps with hummus and cucumbers
The flavor pairs well with lemon, tahini, mustard, avocado, eggs, roasted vegetables, grilled chicken, salmon, chickpeas, and sharp cheeses. Start with a small amount if you are new to the flavor. Broccoli sprouts are tiny, but they do not whisper.
Broccoli Sprouts vs. Broccoli Microgreens
Broccoli sprouts and broccoli microgreens come from the same type of seed, but they are grown and harvested differently. Sprouts are grown in water and eaten whole after just a few days. Microgreens are grown on soil or a growing medium and harvested above the root line after they develop leaves.
If you want the fastest harvest and simplest setup, choose sprouts. If you want a more leafy texture and are comfortable using trays, growing medium, and scissors, try microgreens. Both are excellent kitchen projects, but sprouts are the quickest path from seed packet to sandwich.
A Simple Broccoli Sprout Growing Schedule
Day 1: Soak
Rinse 1 to 2 tablespoons of seeds, cover with water, and soak for 8 to 12 hours.
Day 2: Drain and Begin Rinsing
Drain the soak water, rinse well, drain again, and place the jar upside down at an angle. Rinse morning and evening.
Day 3: Watch the Tails Appear
Tiny roots should begin emerging. Continue rinsing and draining two to three times daily.
Day 4: Let Them Green
Move the jar into bright indirect light once small leaves appear. Keep rinsing and draining.
Day 5: Harvest
When the sprouts are long, leafy, and fresh-smelling, rinse, drain, dry, refrigerate, and enjoy.
Troubleshooting Broccoli Sprouts
My Seeds Are Not Sprouting
The seeds may be old, not intended for sprouting, too dry, too cold, or exposed to poor water quality. Try fresh sprouting seeds and keep them at room temperature.
My Sprouts Smell Bad
Bad smells usually mean poor drainage, too much heat, overcrowding, or contamination. Discard the batch, wash everything thoroughly, and start again with fewer seeds.
My Sprouts Are Too Bitter
Broccoli sprouts naturally have a peppery bite, but late harvesting can make them stronger. Harvest earlier and green them briefly in indirect light.
My Sprouts Dry Out
Rinse more consistently and avoid storing the jar in a dry, hot, or breezy location. The sprouts should stay moist but not waterlogged.
Personal Experience: What Growing Broccoli Sprouts Teaches You
The first time you grow broccoli sprouts, the process may feel suspiciously easy. You put a spoonful of seeds in a jar, add water, and suddenly you are the proud caretaker of a countertop forest. It is satisfying in a way that full-size gardening sometimes is not. There are no weeds, no rabbits, no mysterious holes in leaves, and no weather app drama. You are simply rinsing seeds and watching life happen in real time.
One helpful lesson is that drainage matters more than enthusiasm. Beginners often want to baby the sprouts with extra water, but sprouts do not want to swim. They want a quick shower and then a nice airy place to rest. After a few batches, you learn to shake the jar gently, tilt it properly, and give the sprouts room to breathe. That one habit usually fixes half the problems people have.
Another lesson is that small routines can produce surprisingly big rewards. Rinsing broccoli sprouts in the morning takes less than a minute. Rinsing them at night takes less than a minute. Yet by the end of the week, you have something fresh, crisp, and useful. It is a tiny reminder that consistency beats intensity. You do not need to reorganize your entire life around sprouts. You just need to not abandon them like a gym membership in February.
Broccoli sprouts also make you more aware of freshness. Store-bought greens can feel anonymous, but when you grow sprouts yourself, you notice the moment roots appear, when leaves turn from yellow to green, and when the jar suddenly fills up overnight. You begin to understand why fresh food tastes different. A sandwich with homegrown sprouts has a clean crunch that makes regular lettuce seem like it missed a motivational seminar.
The most practical experience is learning your kitchen’s rhythm. In a cool kitchen, sprouts grow slowly and politely. In a warm kitchen, they sprint. During hot weather, you may need to rinse three times a day and harvest earlier. In winter, you may need an extra day. No guide can know your exact countertop temperature, water habits, or jar angle. After two or three batches, you become fluent in your own sprout language.
You may also discover that growing broccoli sprouts encourages better meals. When there is a container of fresh sprouts in the fridge, it becomes easier to upgrade ordinary food. Scrambled eggs get a green topping. A plain wrap becomes lunch with personality. Leftover rice turns into a bowl with crunch. Even a simple piece of toast looks like it has hired a nutrition consultant.
The final experience is confidence. Broccoli sprouts are forgiving enough for beginners but precise enough to teach good habits. Clean equipment, fresh seeds, steady rinsing, excellent drainage, and quick refrigeration are the keys. Once you master those, you can keep a rotating supply going by starting a new jar every three or four days. Your kitchen will not become a farm, exactly, but it may start acting like one in the best possible way.
Conclusion
Growing broccoli sprouts is one of the easiest indoor food projects you can try. With a jar, sprouting seeds, clean water, and a twice-daily rinse routine, you can harvest fresh sprouts in less than a week. The key is to keep everything clean, avoid overcrowding, drain thoroughly, and refrigerate the sprouts soon after harvest.
Broccoli sprouts are crunchy, flavorful, and versatile. They fit into sandwiches, salads, bowls, wraps, eggs, and snacks without demanding garden space or complicated equipment. Treat them with the same care you would give any raw food, and they can become a regular part of your kitchen routine.
Note: This article is based on current U.S. food-safety guidance, university extension recommendations, and established home sprouting practices. Raw sprouts may not be appropriate for people at higher risk of foodborne illness.