Horse riding looks graceful from the outside: flowing mane, polished boots, soft hands, noble posture, dramatic sunset. Then you dismount after a serious lesson and discover that your inner thighs, hips, lower back, shoulders, calves, and possibly your eyebrows have entered a formal complaint. Welcome to equestrian training, where “just sitting there” somehow works muscles you did not know were included in the human body.
The good news is that soreness during horse riding training is not a life sentence. Some muscle fatigue is normal, especially when you are learning to post the trot, hold a two-point position, sit deeper, or keep your heels down while your horse pretends the arena corner contains a dragon. But sharp pain, repeated saddle soreness, severe stiffness, or pain that changes your riding position is a sign that something needs attention.
This guide focuses on three practical ways to avoid soreness during your horse riding training: preparing your body properly, improving your saddle fit and riding position, and building smart recovery habits outside the arena. The goal is not to turn you into a gym-obsessed centaur. It is to help you ride more comfortably, progress safely, and enjoy your lessons without walking like a cowboy in an old Western for three days afterward.
Why Horse Riding Makes You Sore in the First Place
Horseback riding is a full-body activity. Your core stabilizes your torso, your hips absorb motion, your thighs help maintain balance, your calves support quiet leg aids, and your shoulders and back help you stay tall without becoming stiff. Even grooming, tacking up, carrying buckets, lifting a saddle, and walking around the barn add physical effort to the day.
Many new riders feel sore because riding uses muscles in unfamiliar ways. Posting the trot asks your thighs and glutes to work rhythmically. Sitting trot challenges your core and lower back. Two-point position lights up your calves, hamstrings, and balance system. Canter work may make your hips feel as if they have attended a secret fitness boot camp. This is especially common when training sessions become longer, more intense, or more technical.
Another reason soreness appears is tension. When riders feel nervous, they often grip with the knees, brace the lower back, round the shoulders, hold their breath, or lock the ankles. The horse feels that tension, the rider feels more unstable, and the muscles work harder than necessary. It becomes a tiny rodeo of stiffness. Learning to relax while staying strong is one of the great contradictions of ridingand one of the keys to comfort.
1. Warm Up, Cool Down, and Build Riding Time Gradually
The first way to avoid soreness during horse riding training is simple but often skipped: prepare your body before you ask it to perform. Many riders warm up the horse carefully but forget that the rider also has joints, muscles, tendons, and a brain that may still be half-asleep. Your horse gets a walk warm-up; you deserve one too.
Start With a Rider Warm-Up Before Mounting
A good rider warm-up does not need to be dramatic. You do not have to do burpees beside the mounting block while your horse judges your life choices. Five to ten minutes of light movement can help increase blood flow, loosen stiff areas, and prepare your body for balance work in the saddle.
Try this pre-ride routine:
- Walk briskly around the barn or arena for two to three minutes.
- Circle your shoulders forward and backward to release upper-body tension.
- Do gentle hip circles to wake up the pelvis and lower back.
- Perform controlled leg swings while holding a fence or rail for balance.
- Do ankle circles and calf raises to prepare your lower legs.
- Take several deep breaths to reduce bracing before you mount.
This kind of warm-up is especially helpful before lessons that include posting trot, canter transitions, jumping position, lateral work, or long trail rides. Cold, tight muscles are more likely to fatigue early. Warm muscles are more cooperative, which is excellent news because riding already requires enough negotiation.
Use the First 10 Minutes in the Saddle Wisely
Your mounted warm-up matters too. Begin at the walk and focus on alignment: ears over shoulders, shoulders over hips, hips over heels. Let your hips follow the horse’s movement instead of gripping. Check whether your hands are soft, your jaw is relaxed, and your breathing is steady. If your instructor allows, include large circles, changes of direction, gentle transitions, and light seat adjustments.
A common mistake is starting intense work too soon. If you go from mounting directly into hard posting trot, your muscles may revolt. Think of the first few minutes as a conversation with your body and your horse: “Hello, team. Is everyone online?” This is where you notice if your stirrups feel uneven, your saddle position seems off, your hips are tight, or your horse needs a little more time to loosen up.
Progress Slowly Instead of Heroically
One of the biggest causes of muscle soreness after horse riding is doing too much too soon. If you ride once a week and suddenly attend a three-day clinic, your body may send a strongly worded email. Training intensity should increase gradually. Add more time, harder skills, or faster gaits in small steps rather than all at once.
For example, if two-point position makes your legs shake, do short intervals instead of trying to hold it until your calves file for separation. Start with 20 to 30 seconds, walk, recover, and repeat. If sitting trot makes your lower back sore, practice short sections with good form rather than grinding through several laps while bouncing like popcorn. Quality beats quantity every time.
The same applies to new riders returning after a break. Even experienced equestrians can get sore after time away from the saddle. Your brain may remember how to ride, but your hip flexors may be dramatically less nostalgic. Respect the restart period.
Cool Down After Riding
After training, spend time walking your horse and allowing your own body to come down from effort. A cool-down helps transition from active work to rest. Once you dismount, walk for a few minutes, then do light stretches for the hips, calves, hamstrings, chest, and lower back. Keep stretches gentle. You are not trying to win a circus audition.
Good post-ride stretches include:
- A standing quad stretch to release the front of the thighs.
- A calf stretch against a wall or fence.
- A figure-four stretch for the glutes and hips.
- A chest opener to counter rounded shoulders.
- A gentle child’s pose or seated forward fold for the back.
If you often feel intense soreness 24 to 48 hours after riding, your training may be too aggressive, your recovery may be incomplete, or your riding position may be creating unnecessary strain. Mild muscle soreness can be normal. Pain that is sharp, worsening, one-sided, or connected to a fall should be evaluated by a medical professional.
2. Fix Your Saddle, Stirrup Length, and Riding Position
The second way to avoid soreness during horse riding training is to make sure your tack and position are helping you, not quietly plotting against you. A poorly fitting saddle, incorrect stirrup length, or tense riding posture can create soreness in the knees, hips, lower back, seat bones, shoulders, and inner thighs.
Check Saddle Fit for Both Horse and Rider
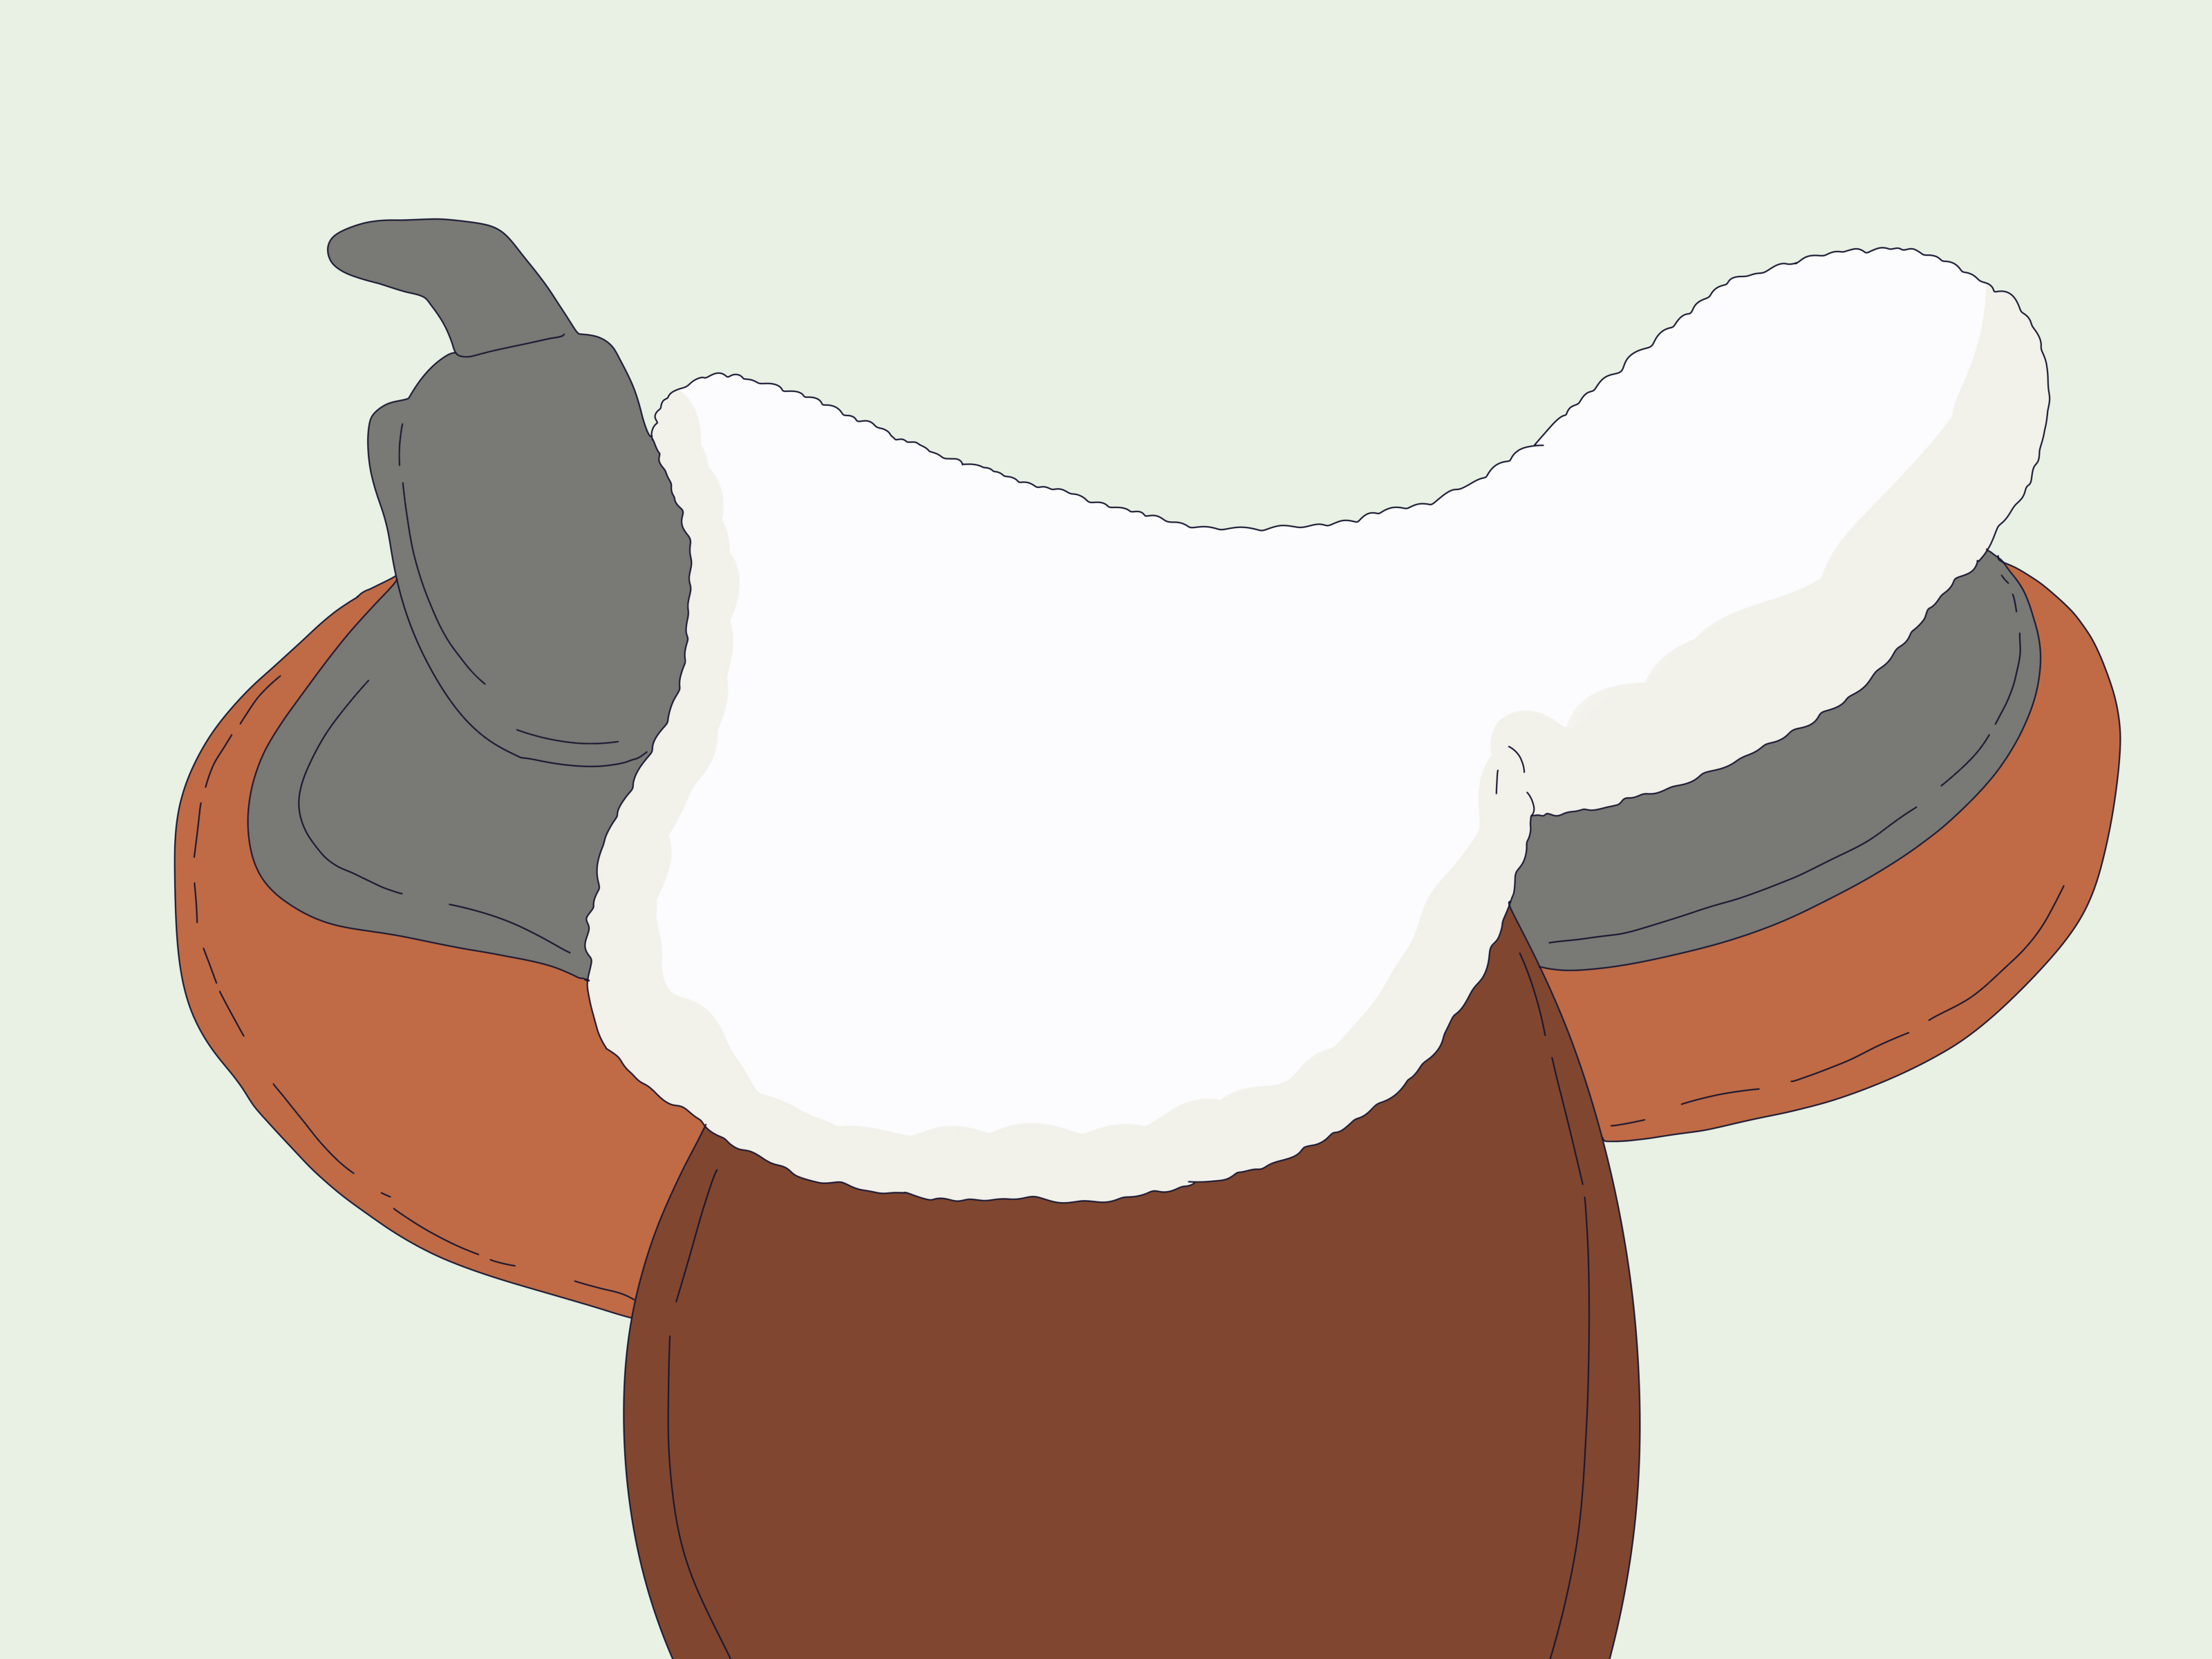
Saddle fit is not just about the horse, although the horse’s comfort should always come first. A saddle that is too small, too wide, unbalanced, tilted, or placed incorrectly can also make the rider work harder to stay centered. If you constantly feel tipped forward, pushed into a chair seat, trapped behind the movement, or rubbed raw, the saddle may be part of the problem.
A properly placed saddle should sit securely and allow the horse’s shoulders to move. It should not rock excessively, slide dramatically, pinch, or create obvious pressure points. For the rider, the saddle should support a balanced seat without forcing the pelvis into an extreme position. If you are training regularly, ask a qualified saddle fitter, instructor, or experienced professional to evaluate fit.
Do not assume more padding fixes everything. A seat saver, padded breeches, or gel pad may help minor discomfort, but extra padding cannot solve a fundamentally poor saddle fit. Sometimes it even makes things tighter. Padding is a cushion, not a magic spell.
Adjust Stirrup Length for the Job
Stirrup length has a huge effect on soreness. Stirrups that are too long may cause the rider to reach with the toes, strain the hips, or lose stability. Stirrups that are too short may jam the knees, tighten the thighs, and create ankle or calf fatigue. The best length depends on the discipline and activity.
For basic flatwork, many riders need a length that allows the heel to sit under the hip with a soft bend in the knee. For jumping or two-point work, stirrups are usually shorter. For some dressage work, they may be longer, but not so long that the rider braces or fishes for the stirrup. If your legs ache in a specific pattern after every ride, ask your trainer to check your stirrup length while you are mounted and moving.
Also check that your stirrups are even. Uneven stirrups can lead to one-sided soreness in the hip, knee, ankle, or lower back. Sometimes the leather stretches more on one side. Sometimes the rider simply miscounts holes because barn math is real and mysterious.
Improve Your Seat Without Gripping
Many riders try to avoid bouncing by gripping with the knees or thighs. Unfortunately, gripping usually creates more tension, less balance, and more soreness. A better seat comes from a stable core, mobile hips, relaxed legs, and a body that follows the horse’s motion.
Think of your seat as plugged in, not clamped on. Your pelvis should move with the horse while your upper body stays tall. Your thighs should drape, not squeeze like a panicked clothespin. Your lower leg should remain steady without digging every stride. This takes practice, but it dramatically reduces unnecessary muscle fatigue.
Helpful cues include:
- Keep your weight even on both seat bones.
- Let your hip joints move instead of locking your lower back.
- Lengthen through the spine without stiffening the shoulders.
- Use your core to stabilize, not your hands to balance.
- Keep your heels heavy but not forced down.
- Breathe during difficult transitions, because apparently we all forget.
Wear the Right Clothing to Reduce Chafing
Some riding soreness is not muscle soreness at all. It is friction. Chafing can happen at the inner thighs, knees, calves, seat, or ankles, especially during hot weather, long rides, or repeated posting trot. Proper riding pants, smooth seams, half chaps, tall boots, moisture-wicking layers, and breathable undergarments can make a major difference.
Avoid loose clothing that bunches under the saddle or rubs against the skin. If you are going on a long trail ride or training in summer heat, consider an anti-chafing balm on areas prone to rubbing. After riding, change out of sweaty clothes quickly and keep irritated skin clean and dry. Small skin irritation can become a bigger problem if ignored.
3. Build Rider Fitness and Recovery Habits Outside the Saddle
The third way to avoid soreness during horse riding training is to support your riding with off-horse fitness and recovery. Riding is athletic, even when your horse is doing most of the traveling. The better your body handles balance, mobility, endurance, and strength, the less you will rely on tension to stay in position.
Strengthen Your Core for Better Stability
A strong core helps riders maintain posture, absorb motion, and stay balanced without gripping. Core training is not just about visible abs. It includes the deep muscles around the pelvis, lower back, hips, and trunk. These muscles help you stay centered when the horse turns, transitions, spooks, slows down, speeds up, or performs the classic “I thought about trotting but changed my mind” maneuver.
Good core exercises for riders include:
- Planks and side planks for trunk stability.
- Dead bugs for coordination and deep core control.
- Bird dogs for back and hip stability.
- Glute bridges for seat and pelvic support.
- Pallof presses for anti-rotation strength.
Start with short, controlled sessions two or three times per week. Ten to twenty minutes is enough for many riders. The goal is not exhaustion. The goal is useful strength that transfers to the saddle. If your form falls apart, stop and reset. Sloppy core work teaches your body sloppy patterns.
Train Your Hips, Glutes, and Legs
Riders often blame their thighs for soreness, but the hips and glutes are major players. Tight hip flexors, weak glutes, limited ankle mobility, and poor hamstring flexibility can all make riding more uncomfortable. When one area is weak or stiff, another area compensates. That is how a quiet lesson turns into a lower-back opera.
Useful exercises include bodyweight squats, lunges, step-ups, Romanian deadlifts with light weights, calf raises, and resistance-band lateral walks. For mobility, add hip flexor stretches, adductor rock-backs, ankle mobility drills, and gentle spinal rotations. Yoga and Pilates can also help riders develop body awareness, breathing control, mobility, and core endurance.
Keep your off-horse training balanced. If you only strengthen the front of your body and ignore the back, you may encourage rounded shoulders. If you only stretch and never strengthen, you may feel loose but unstable. Riders need both mobility and control.
Hydrate, Eat, and Sleep Like Recovery Matters
Recovery is where your body adapts. Hydration supports muscle function, especially during hot lessons or long barn days. Balanced meals with protein, carbohydrates, healthy fats, and colorful fruits or vegetables help replenish energy and support tissue repair. Sleep is equally important. Your body does not become a stronger rider while doom-scrolling horse sale ads at midnight.
After a tough ride, consider light active recovery such as walking, gentle stretching, or an easy mobility routine. Some riders find massage, foam rolling, or a warm bath helpful for tight muscles. Use ice or heat appropriately depending on the type of discomfort, and avoid pushing through pain that feels sharp, unstable, numb, or unusually intense.
Listen to Pain Signals Early
There is a difference between normal training soreness and pain that should not be ignored. Normal soreness usually feels like a dull ache or stiffness in muscles that worked hard. It often improves with gentle movement and fades over a few days. Concerning pain may be sharp, sudden, swelling-related, nerve-like, one-sided, or connected to a fall, twist, or impact.
If soreness changes how you ride, address it. A rider protecting a painful knee may tip forward. A rider avoiding seat discomfort may hollow the back. A rider with shoulder pain may pull unevenly on the reins. Pain does not stay in one neat little box; it changes the entire riding system. When in doubt, talk with your instructor, a saddle fitter, or a healthcare professional.
Common Soreness Areas and What They May Mean
Inner Thigh Soreness
Inner thigh soreness is common after posting trot, no-stirrup work, or returning to riding after a break. It may mean your adductors are working hard, but it can also suggest gripping. Focus on lengthening the leg, relaxing the knee, and strengthening the hips outside the saddle.
Lower Back Soreness
Lower back soreness may come from sitting stiffly, arching the back, weak core muscles, tight hip flexors, or a saddle that tips the pelvis. Work on core stability, hip mobility, and a neutral spine. If back pain is persistent or radiates down the leg, seek medical advice.
Knee Pain
Knee soreness may be related to stirrup length, gripping, tight hips, or twisting through the lower leg. Check whether your knee is pinching the saddle or your toes are turning out excessively. Proper boot support and balanced stirrup pressure can also help.
Calf and Ankle Fatigue
Calf soreness often appears after two-point, jumping, or trying too hard to force the heels down. Instead of jamming the heel, let weight sink through a relaxed leg. Strengthen calves gradually and practice ankle mobility.
Seat Bone or Saddle Soreness
Seat soreness can come from long rides, friction, poor saddle fit, an unstable seat, or simply too much time in the saddle too soon. Use well-fitting riding clothes, check saddle fit, and increase ride duration gradually. Persistent numbness, skin breakdown, or severe pressure pain should not be ignored.
A Simple Weekly Plan to Reduce Riding Soreness
If you ride one to three times per week, a simple support plan can reduce soreness without taking over your life. Think small and consistent.
Before Each Ride
- Do five to ten minutes of light movement.
- Mobilize hips, ankles, shoulders, and spine.
- Check stirrup length and saddle position.
- Start mounted work with a calm walk warm-up.
After Each Ride
- Cool down at the walk.
- Stretch hips, calves, hamstrings, and chest.
- Hydrate and eat a balanced snack or meal.
- Note any soreness patterns in a training journal.
Two or Three Days Per Week
- Do core work such as planks, dead bugs, and bird dogs.
- Add glute and leg strength exercises.
- Practice hip and ankle mobility.
- Take at least one genuine recovery day when needed.
This plan is intentionally simple. Riders already have enough chores, tack cleaning, lesson notes, and mysterious single socks living in their boot bags. The best soreness-prevention routine is one you can actually follow.
Experience Notes: What Real Riders Learn About Soreness
Most riders eventually discover that soreness is a surprisingly honest teacher. It tells you what worked, what was weak, what was tense, and what you tried to fake with determination. During early horse riding training, many people assume soreness means they are “bad at riding.” That is rarely true. More often, it means the body is adapting to a new language.
For example, a beginner may finish a lesson with sore inner thighs and think, “Great, I am basically a broken wishbone.” But after watching the lesson back or listening to an instructor, the rider realizes they were gripping with the knees every time the horse trotted. The solution is not to become tougher; it is to become more balanced. When the rider learns to post from the rhythm of the horse instead of clamping for survival, the soreness decreases.
Another common experience happens after canter work. A rider may feel sore through the hips and lower back because they were trying to “hold” the canter instead of following it. Once they learn to soften the pelvis, breathe, and keep the upper body tall, the canter becomes smoother. The horse relaxes too. Horses are very generous mirrors; they notice when we ride like a relaxed athlete and when we ride like a folding chair in a windstorm.
Trail riders learn similar lessons. A two-hour trail ride may feel easy in the moment because the scenery is beautiful and the horse is steady. The next morning, however, the rider discovers soreness from long periods in one position. Experienced trail riders often stand briefly in the stirrups, adjust posture, stretch before and after, wear proper riding pants, and avoid brand-new boots on long rides. Comfort is not vanity. Comfort keeps your position correct and your attention on the horse, not on your left sock seam plotting revenge.
Riders returning after a break also learn humility quickly. Maybe you rode as a teenager and remember galloping across fields with heroic confidence. Then, years later, you take one adult lesson and your thighs send a postcard from the past: “We remember, but we are not ready.” This is normal. The smartest returners rebuild gradually. They take shorter lessons, add core training, stretch consistently, and resist the temptation to prove anything in week one.
One of the best habits riders develop is tracking soreness patterns. Write down what you did in the lesson, how long you rode, which saddle you used, your stirrup length, and where you felt sore afterward. Patterns appear quickly. Maybe your knees hurt only after jumping length stirrups. Maybe your back aches after sitting trot. Maybe chafing happens only in one pair of breeches. These clues help you and your trainer adjust intelligently.
Finally, experienced riders learn that soreness prevention is part of horsemanship. A sore, tense rider gives unclear aids, shifts weight unevenly, and may accidentally make the horse work harder. Taking care of your body is not separate from taking care of the horse. It is part of the same partnership. When you warm up, ride in balanced tack, strengthen your core, recover well, and listen to pain early, you become a quieter, kinder, more effective rider. And yes, you may also be able to walk down stairs normally after your lesson. A noble goal indeed.
Conclusion
Avoiding soreness during horse riding training is not about avoiding effort. Riding is physical, and your body will adapt as your skills grow. The key is making sure soreness comes from healthy training, not poor preparation, bad fit, excessive tension, or ignored recovery.
Start by warming up, cooling down, and increasing training demands gradually. Then check your saddle, stirrup length, riding clothes, and position so you are not fighting your own equipment. Finally, build rider fitness outside the saddle with core strength, hip mobility, hydration, nutrition, sleep, and active recovery. These three strategies work together like a good horse-and-rider pair: preparation, alignment, and recovery.
If you are sore after every lesson, do not simply tough it out. Look for patterns, ask for feedback, and make adjustments. Riding should challenge you, not punish you. With smarter habits, you can train consistently, sit more comfortably, and enjoy the best parts of horse riding: connection, confidence, progress, and that wonderful moment when your horse listens to the tiniest cue and you feel like you both secretly understand the universe.